Designing and customizing tactical backpacks, especially using velcro patches, is not just fun but also practical. These veclro patches allow you to personalize your gears, making them unique in their style. Moreover, they help you stay organized and make your bag functional at the same time.
Here are some of the techniques that can guide you to effectively use hook-and-loop veclro patches in the customizing process, including all the tips starting from selection to placement.
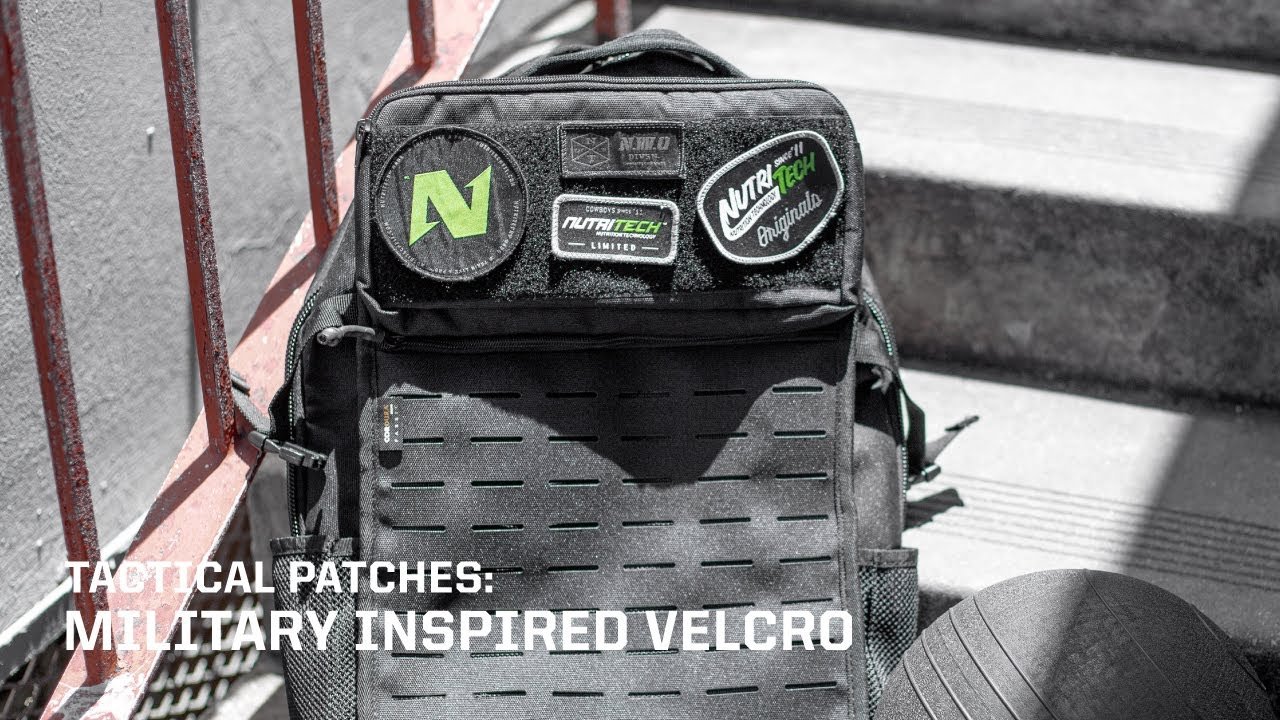
Design your tactical backpack with hook-and-loop velcro patches
Velcro patches specially designed for backpacks are crafted to give a premium appearance and feel, with versatile quality of interchanging its position. These Velcro patches are the blend of elegance with the practicality of Velcro backing, facilitating effortless attachment and detachment from the bags or gears when required.
1. Select the right patch
The initial step is to choose the right custom Velcro patches. When you are making any selection, consider your needs and preferences. Check if you are looking to add a personal touch, increase functionality, or the reason is both.
-
Identification patch:
These are critical if you’re in a situation where quick identification is necessary. Patches that contain the names, identity numbers, or essential information can be a lifesaving tool in case of emergencies.
-
Morale patch:
These patches are fun and expressive. They showcase the personality, hobbies, or beliefs of the users. For instance, if you choose a patch with your favorite quotes, logo, or funny images. These will add a touch of humor or inspiration to your kit.
-
Functional patch:
Maybe you need patches that can add to the utility of your backpack. For instance, the reflective patches can increase your visibility at night or in situations when you are trying to do commando activities. On the other hand, glow patches can help you locate your bag in the dark.
2. Choose a type of Velcro patch
When you have learned about the categories of patches available, now understand the variety of patches that can help you make better choices. Here is a list of a few of the common ones:
-
Embroidered patch:
If you are looking for a durable option, then embroidery is the best choice. These can add a classical look to your backpack.
-
PVC patch:
These patches are made of soft plastic and are great for detailed designs. They are also weather-resistant. So, if your bag is to be used in such a situation, choose this patch.
-
Woven Patch:
A thinner option that offers finer details than embroidered patches. This quality makes them ideal for intricate logos or images.
-
Leather patch:
If you want a patch to give a rugged and sophisticated touch, then go for leather patches. They are durable and age well over time.
-
Customized patch:
You can even design your customized patch by either using graphic designing tools or choosing a manufacturer. Try to convey the image in your mind to the designer to get the best output.
3. Pick the placement of your patch
Once you have patches in your hand, it’s high time to think about their placement. The main theme is to strike a balance between aesthetics and functionality. Some of the placement suggestions are:
-
Front panel:
The most visible part of your backpack. This place is best for morale patches or identification patches that you want the audience to see quickly.
-
Side panels:
This position is great for functional patches. For instance, if you are on an adventure trip in a forest area, a reflective patch attached to the side can improve your visibility without obstructing the look of your tactical backpack.
-
Shoulder straps:
If your designed patch is small, you can place it on the shoulder. Place your identification patch here for quick access.
-
Inside the backpack:
Don’t ignore the interior. You can place patches to label different compartments or keep all items in place. This way, your backpack will look organized, and you can easily find things when they are needed.
4. Apply the Velcro
Although applying Velcro patches is easy, there are a few tips that you need to ensure they can last long.
-
Clean the surface:
Before you attach patches, make sure the area is clean and dry. The direct and moisture can reduce the adhesive quality of the Velcro. This even applies if you’re using custom iron on patches.
-
Press firmly:
Once, the velcro patches are placed, apply pressure firmly. This force will ensure a strong bond between the Velcro and the backpack.
-
Check regularly:
With time, it is often noticed that patches start losing their grip. Check through them regularly and apply some pressure to stick them down again if it is required.
5. Tips to maintain the applied patch
Taking care of patches is as essential as applying them. It can become a daunting task to replace if you start neglecting it. Some of these tips may help you in maintenance:
-
Wash carefully:
When you are washing your backpack, first thing first, remove the patches. This will prevent them from getting damaged or losing their adhesive properties.
-
Store patches in a secure place:
Keep your velcro patches in a cool and dry place when you are not using them. Also, look for a place where there is no sunlight, as UV rays can fade away the color of the patch.
-
Replace them when necessary:
With time, you will notice that the Velcro has started to wear out. If you feel that the velcro patches are not sticking well, this is an indication that the Velcro needs to be replaced.
The final words
When you add velcro patches to your tactical bags, you add a personal touch to them, increasing their functionality and improving their identification. By knowing about the different varieties of patches, creating your custom designs, and properly looking after them, you can keep your backpack both stylish and practical.
Remember! The key to stylish tactical bags is not just the role of velcro patches you choose in decorating the backpack but also the way you can look after those patches.
Read More:
How a Property Lawyer Can Protect Your Interests in Property Deals